Posted on

Savory Garlic Greens – Kale

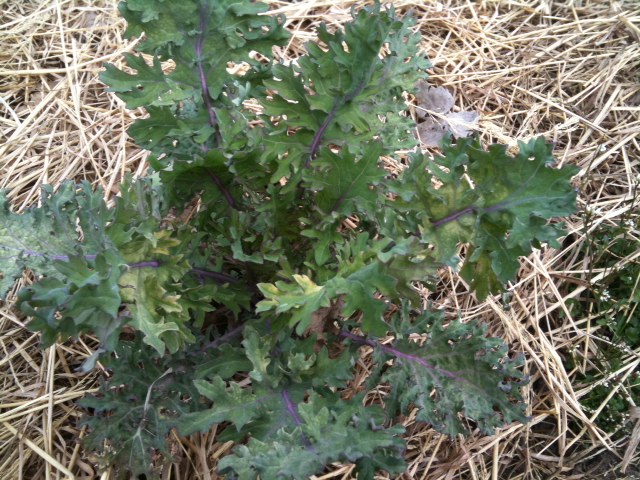
If you are looking for a nutritional bang for your buck, kale is where it’s at! This beautiful winter-hardy vegetable is currently in season, and it’s one of the most nutrient-dense vegetables you can eat! There are many different ways to enjoy kale, but here I will share with you my go-to recipe for delicious and savory dark-leafy greens.


A one-cup serving of kale provides 180 percent of the RDA (recommended daily allowance) for Vitamin A, 200 percent for Vitamin C, 1,020 percent RDA for Vitamin K, as well as 5 grams of fiber- with only 36 calories and 0 grams of fat! Per calorie, mineral-rich kale has more iron content than beef, and more calcium than milk. It is great for aiding in digestion and elimination with its high fiber content. It’s also high in antioxidants, folate and magnesium. Kale even contains omega-3 fatty acids (10% RDA in a 1 cup serving)! It’s really worth the effort to add this great-tasting and nutrient-rich vegetable to your diet!

Here’s what you will need to cook up some savory garlic greens:

  • 1 big bunch of kale (or any dark leafy greens of your choice
)
  • 2-3 cloves garlic
  • 3 tsp tamari soy sauce
  • 3 Tbsp 
olive oil

Directions: wash greens well and check for any bugs. De-stem the greens, then chop the leaves into thin strips. Coarsely chop the garlic, then coat your frying pan with olive oil and turn onto medium high heat. Add the garlic and sauté until the garlic is just starting to brown, about 1 minute. Add in the greens and sprinkle the tamari on top, then stir to coat the greens with the olive oil and tamari. Sauté on medium heat for about 3 minutes, until the greens have wilted, then cover and turn off the heat. Let the greens sit in the hot pan covered for 3-5 minutes. Even with the heat turned off, the greens will continue to steam and become more tender if left covered. These savory greens make a great side dish for most meals, and can be served over basmati rice or any whole grain of your choice.

Yield: 3-4 servings

I hope you enjoy your greens!

Do you want more ideas? See this current thread where Balaboostas members share their favorite kale recipes. They include soups, salads, and even kale chips! Yum. 

Posted on

Root Vegetable Latkes with Lemon-Saffron Yogurt

Two nights left to cook = Two Way Latkes!!

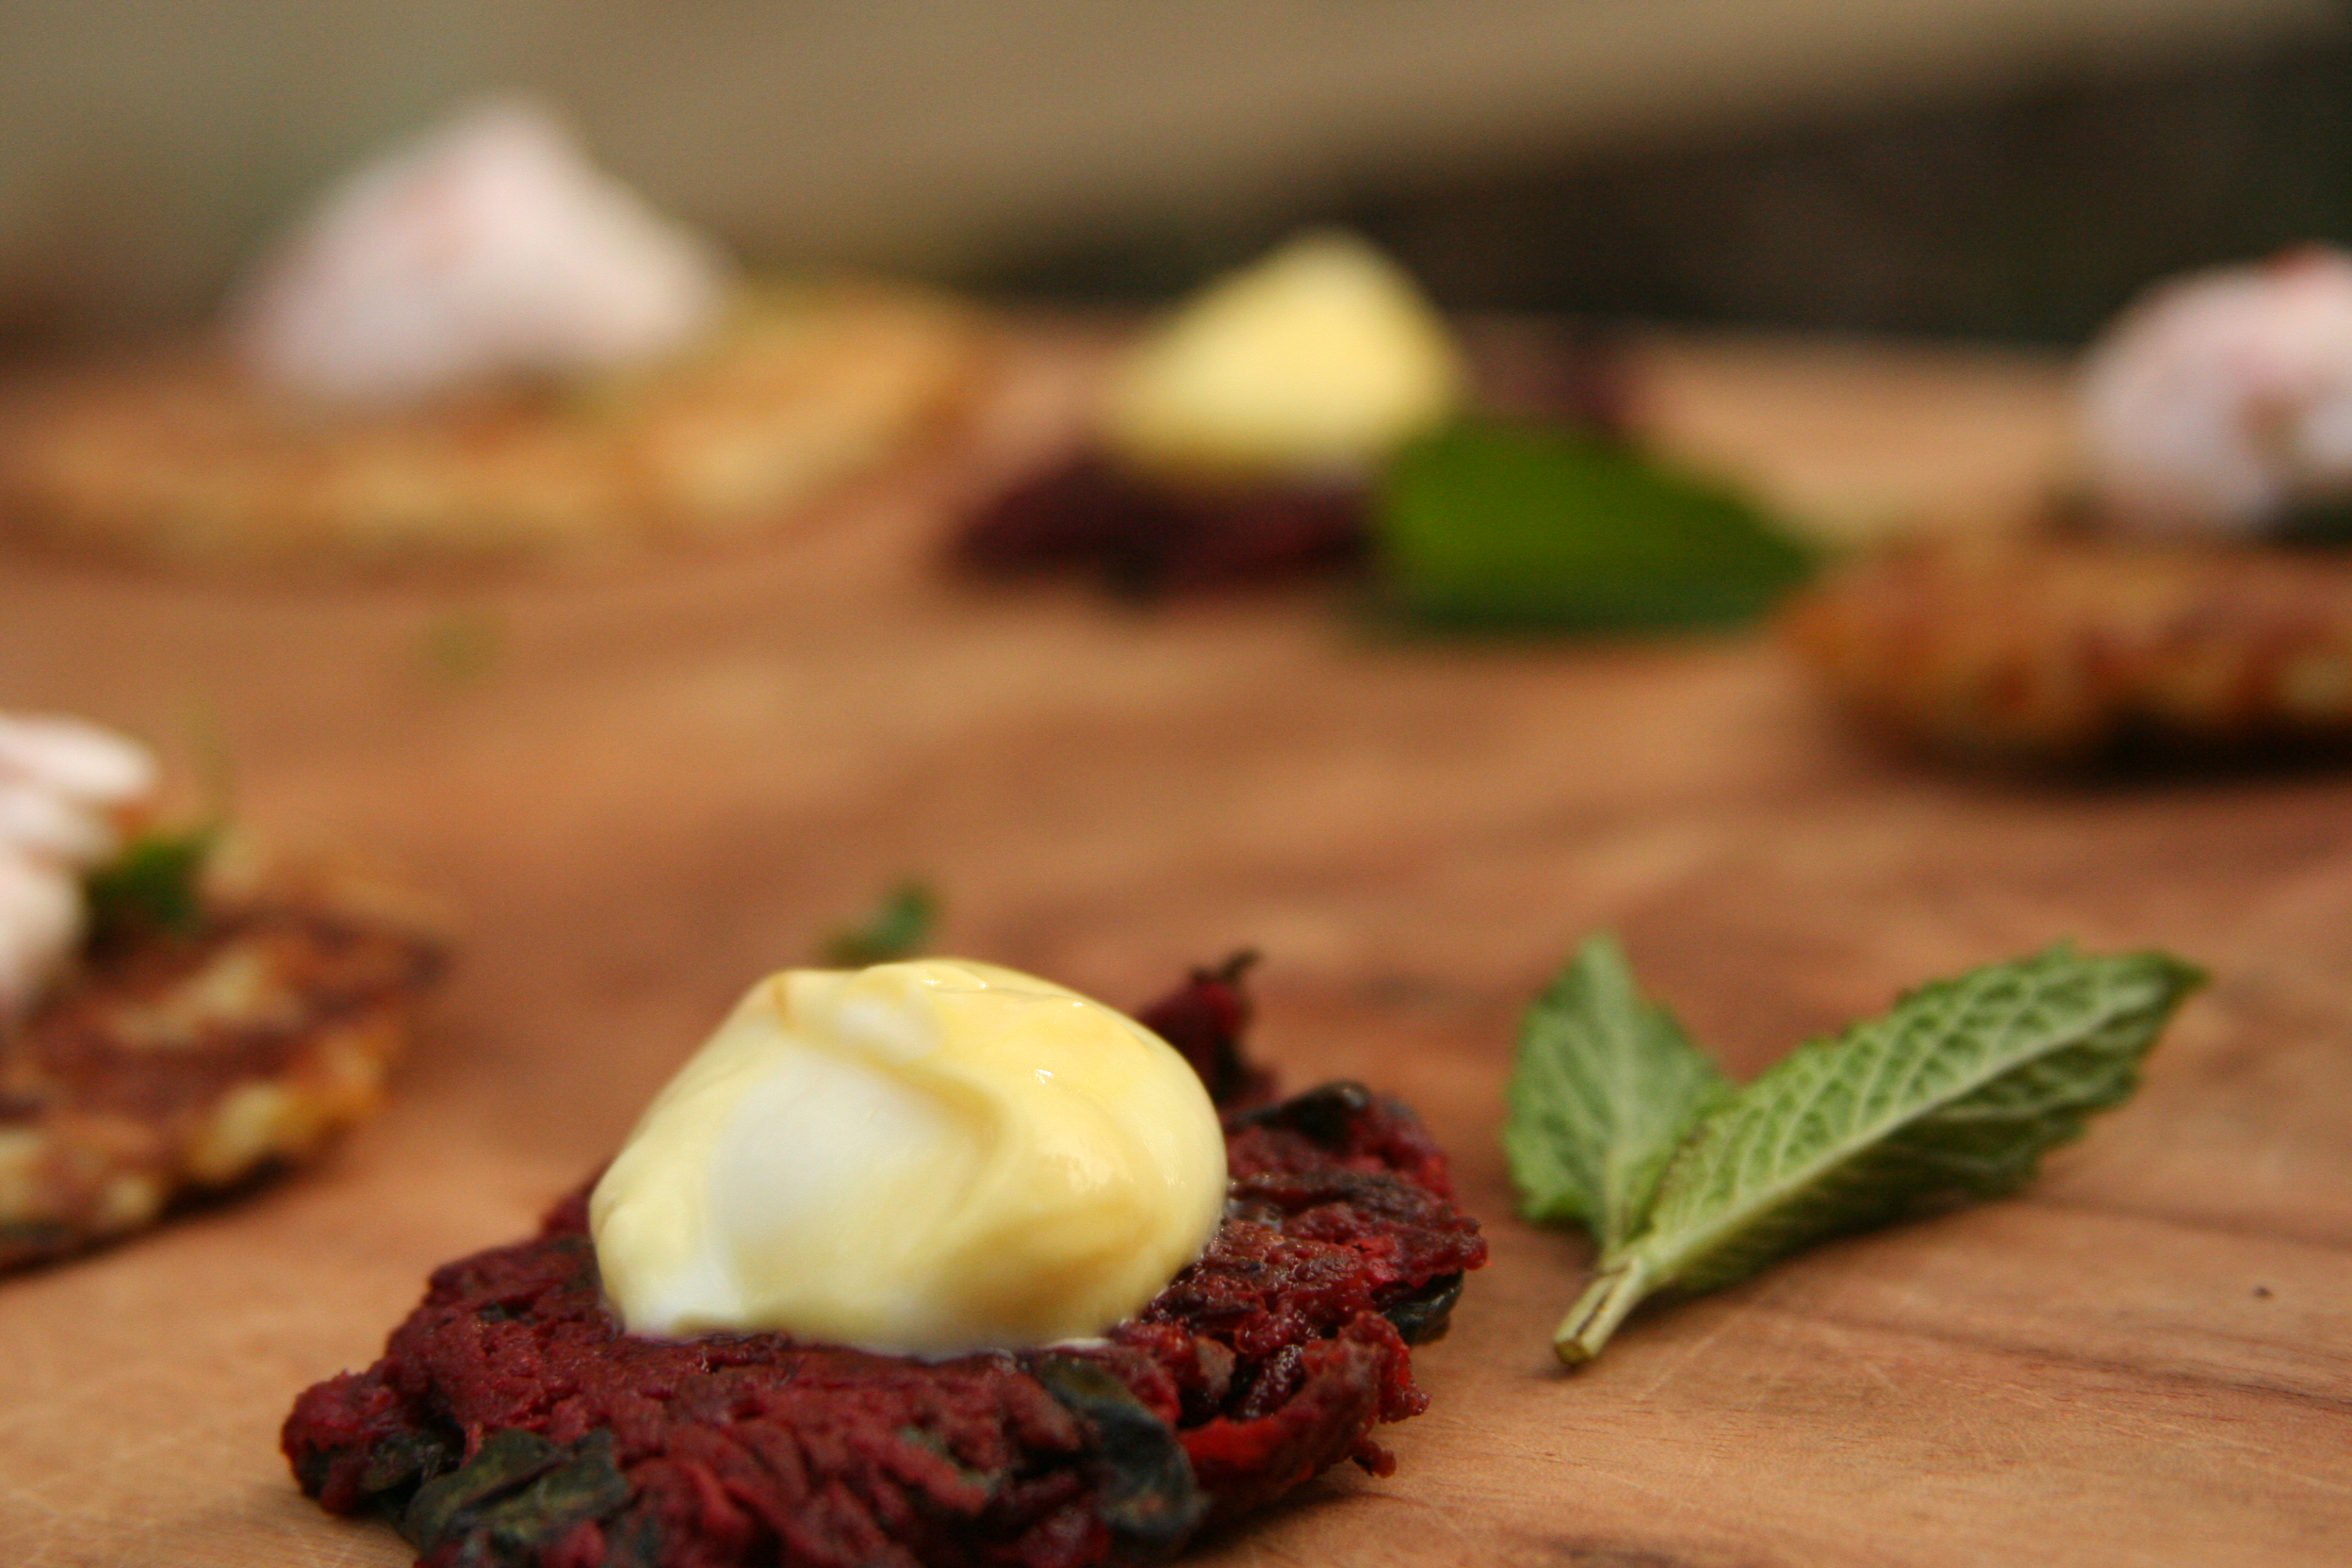
Beet Latkes with Lemon Saffron Yogurt & Rutabaga Latkes with Horseradish Taramosalata

I’ll be the first to admit that potato latkes are really the best kind of latkes! Especially when they’re made well – crispy, thin and fresh out of the fry pan. Here are a couple of recipes using an assortment of other vegetables you can use to perhaps boost your intake of vitamins and minerals, and to add some variation, colour and seasonal freshness to your plate.

Ingredients:

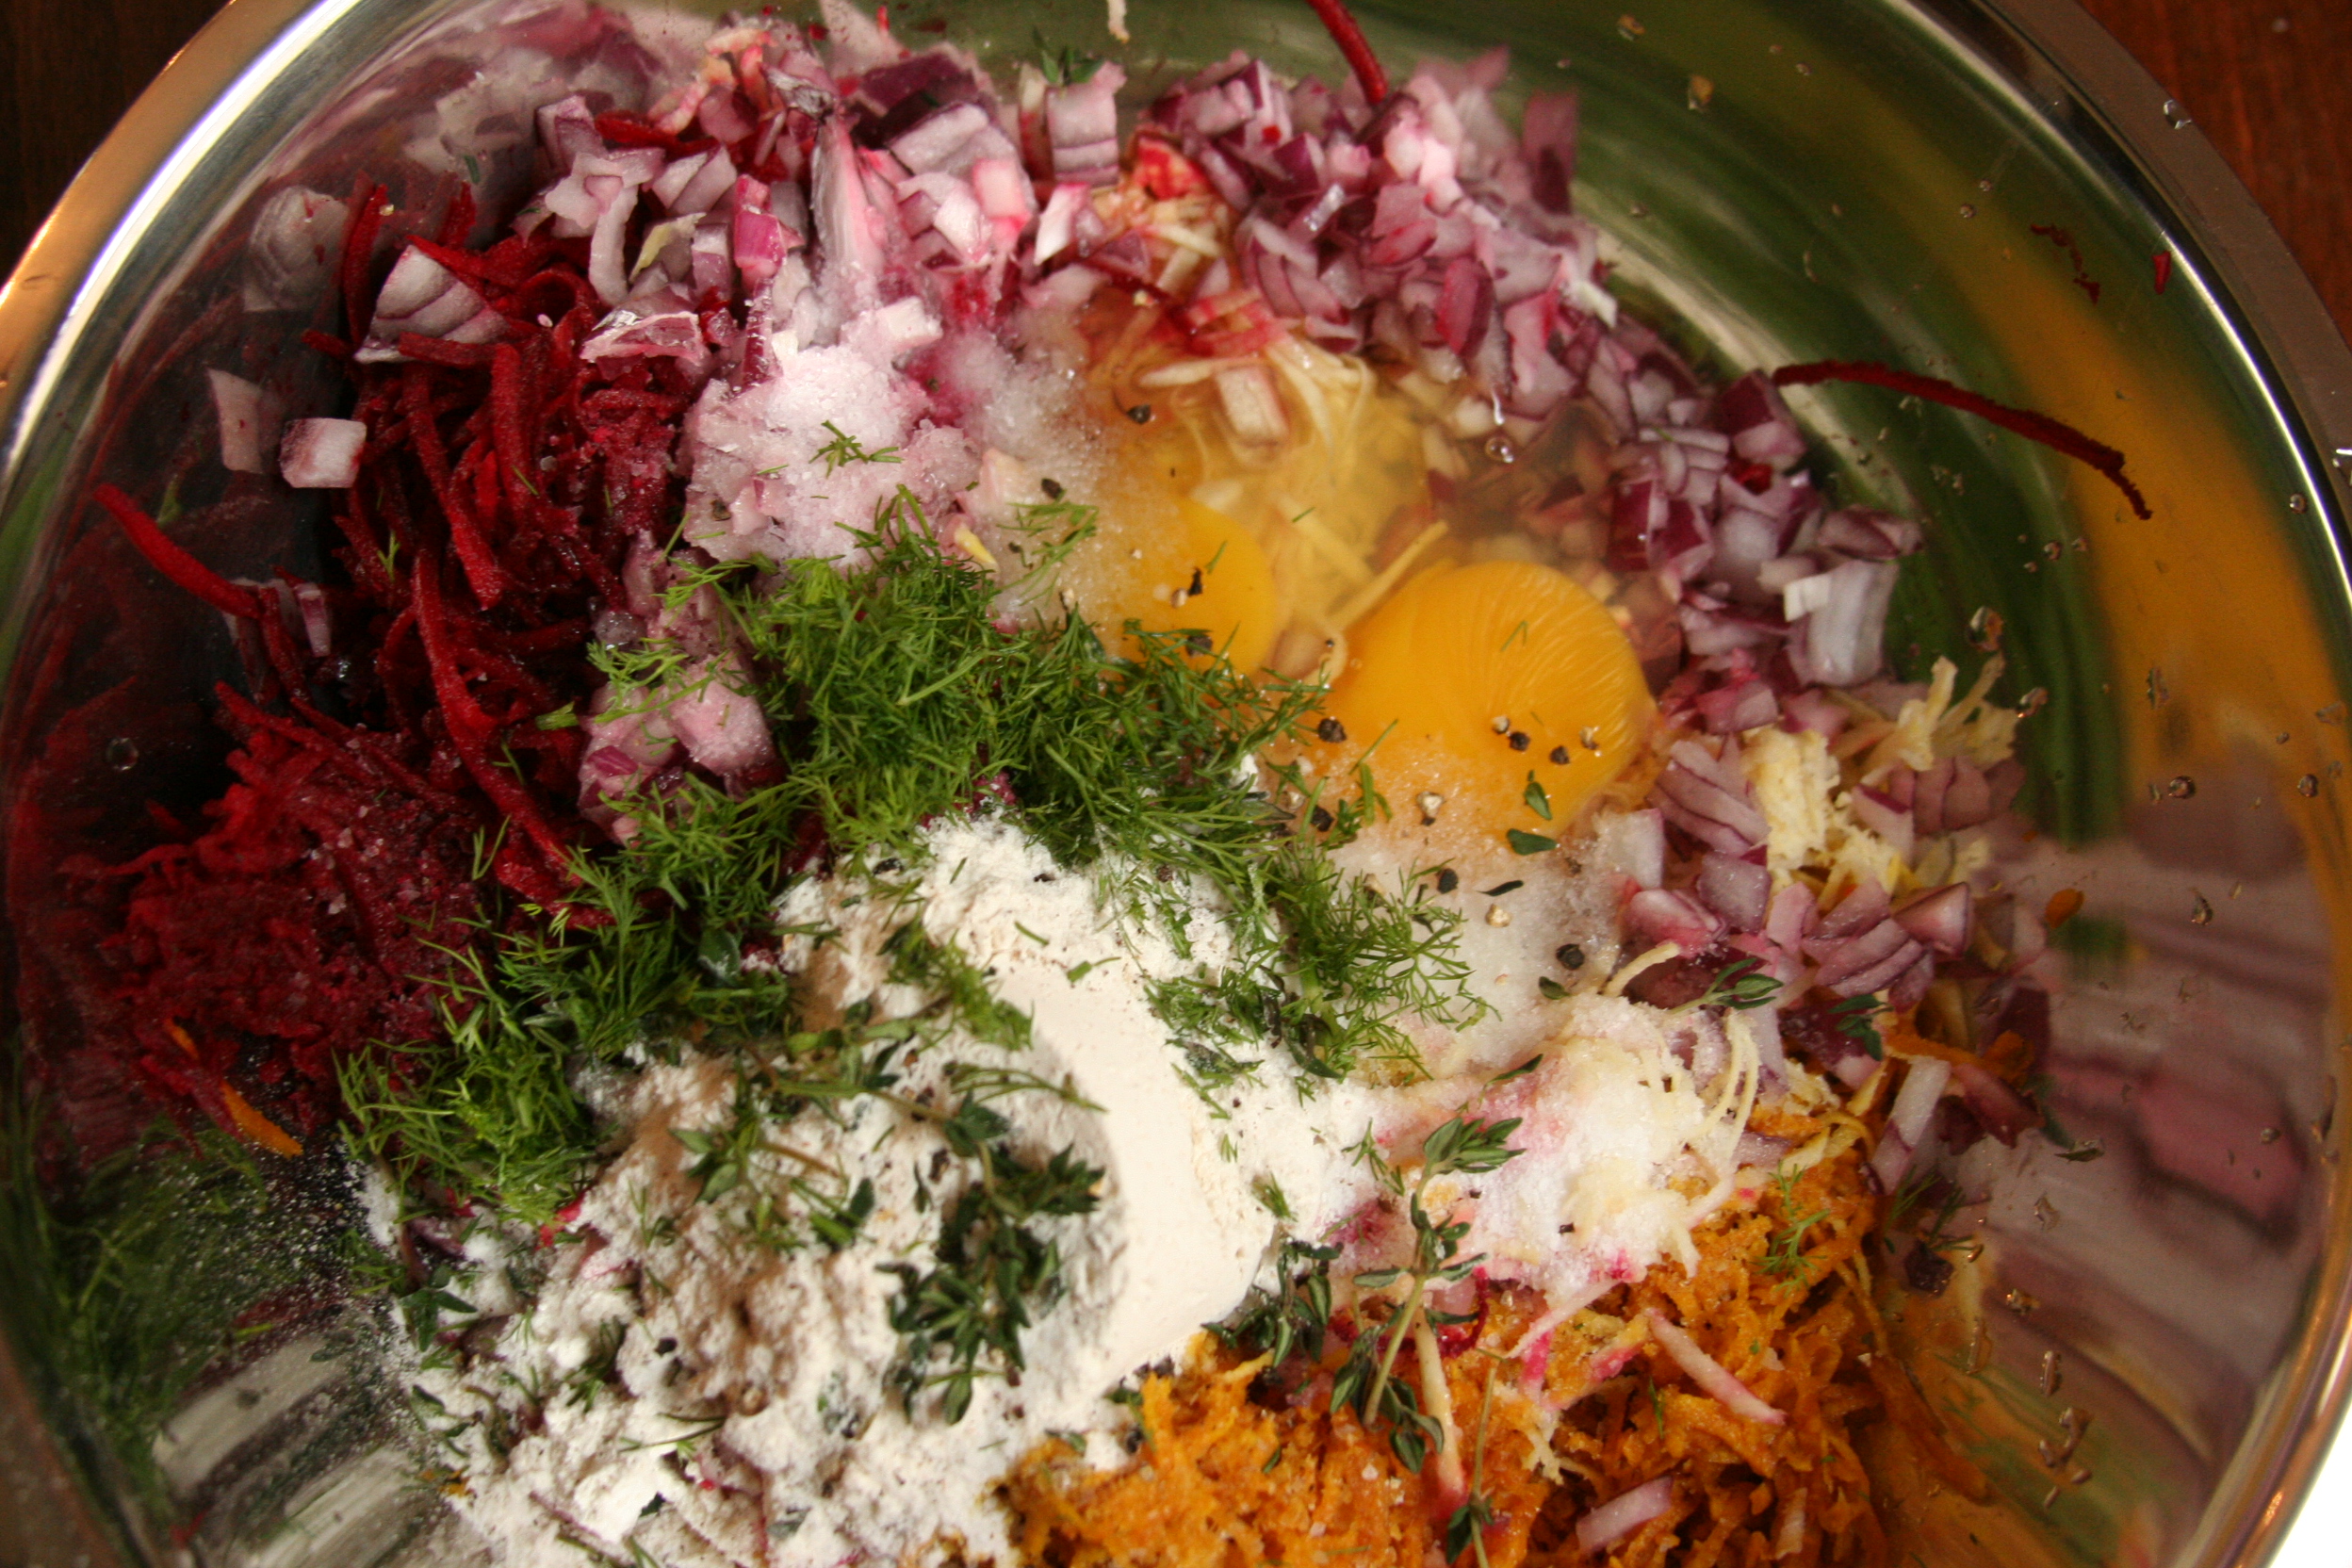
  • 1lb mixed raw root vegetables such as rutabaga, golden beets, red beets and parsnip (other turnips, celeriac and carrots are also fine, although I haven’t tried them) peeled and shredded by hand or using a food processor.
  • 1 small or ½ a red onion, minced
  • 2-3 eggs
  • ¼ c flour (almost any flour, all-purpose, whole wheat, spelt and probably many gluten free flours are also fine)
  • 2 teaspoons salt (or just a pinch of salt if using mostly beets, too much salt will stifle their natural sweetness)
  • 3 grinds black pepper
  • ½ tsp baking powder
  • ½ C peanut or grapeseed oil, (approximately) for frying

For the Beet Latkes: 1 bunch lightly cooked beet greens, squeezed and chopped, 2 tablespoons of fresh mint and parsley, zest of ½ lemon,1 tsp ground cumin, 1 tsp tahini.

For the Rutabaga Latkes: 1 tsp caraway seeds toasted over the fry pan before you start your frying, 2 tablespoons dill and/or parsley.

Lemon Saffron Yogurt Sauce for the Beet Latkes courtesy of Yotam Ottolenghi

Ingredients:

  • 1 big pinch saffron threads
  • 250g Greek yoghurt
  • 2 tsp olive oil
  • 1 tsp lemon juice
  • Salt

First make the sauce. Soak the saffron in two teaspoons of hot water for five minutes. Transfer this to a bowl, add the yogurt, oil, lemon juice, and salt to taste, and stir to combine. The sauce will keep well in the fridge.

Horseradish Taramosalata for the Rutabaga Latkes

Ingredients:

  • 1 cup sour cream
  • 1 tablespoon freshly grated horseradish
  • 2 tablespoon freshly chopped dill
  • 3 tablespoons carp roe or salmon caviar (vegetarians, just leave out. The dip is great either way).
  • Zest and juice from ½ a lemon (only if using the roe or caviar).
  • Salt
  • Combine everything and refrigerated until needed.

To make the latkes: Place all your ingredients into a mixing bowl and mix thoroughly. I put disposable gloves on and get down and dirty. I use three eggs; the resulting mixture is lighter, fluffier, and will give you crispier latkes, but it will work fine with fewer eggs, or egg whites if cholesterol levels are a concern. Heat a fry pan with a good amount of oil on a medium flame, and drop spoonfuls of the latke mixture, flattening them with a spatula. When you jiggle the pan and the latke loosens and seems to hold its shape, it’s ready to be flipped. I like to press them thin and cook them quickly on a higher flame.

When deciding what vegetable to use with which sauce, the answer is that it doesn’t really matter. You could use the exact same mixture of root vegetables for either the “beet” or “rutabaga” latkes, and as long as you pair the right herbs and spices with the sauces, they’ll taste great.

A Freilachen Chanukah

Posted on

Organic Gluten Free Latkes

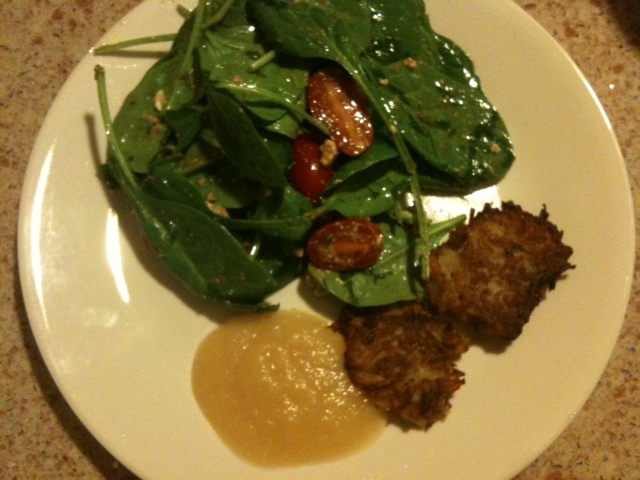
Are you looking for a perfect gluten free latke recipe for your family or guests? Look no further! These mini latkes have a classic taste and texture, and make a great appetizer for your Chanukah parties. These latkes are made extra small for an appealing presentation, and look beautiful when served with a big green salad and a side of organic applesauce!

Why make organic latkes?

Did you know that potatoes are one of the top 12 pesticide-contaminated foods? These top 12 most contaminated foods are known as “the dirty dozen” and include the fruits and vegetables that are most heavily laden with potentially harmful pesticide residue. The following is a list of the 12 most contaminated foods, followed by list of the 12 least contaminated foods. For those of us on a tight budget, simply substitute organic for the most contaminated foods whenever possible, and when buying conventional produce, stick to the least contaminated foods.

12 Most Contaminated:

▪ Peaches
▪ Apples
▪ Sweet Bell Peppers
▪ Celery
▪ Nectarines
▪ Strawberries
▪ Cherries
▪ Pears
▪ Grapes (Imported)
▪ Spinach
▪ Lettuce
▪ Potatoes

12 Least Contaminated:

▪ Onions
▪ Avocado
▪ Sweet Corn (Frozen)
▪ Pineapples
▪ Mango
▪ Asparagus
▪ Sweet Peas (Frozen)
▪ Kiwi Fruit
▪ Bananas
▪ Cabbage
▪ Broccoli
▪ Papaya

Now back to the latkes!  Here is what you will need to make your golden crispy gluten free latkes:

  • 2 pounds organic Yukon gold or Russet potatoes, peeled
  • 1 medium yellow onion, quartered
  • 1 egg
  • 1 1/2 teaspoons salt
  • 1 cup olive oil

Yield:  14-18 latkes

Directions: Peel your potatoes and place in a bowl of cold water. Using the grating disc of a food processor, grate the potatoes and place into a bowl. Using a cheesecloth, cloth napkin, or a strainer, squeeze as much liquid out of the potatoes as possible, reserving the potato liquid in a separate bowl. Let the liquid settle for five minutes, (your gluten free potato starch will settle to the bottom of the bowl). While the potato liquid settles, process the onion until smooth in the food processor and add to the grated potato. Slowly pour off the liquid from your bowl of potato liquid, and add the remaining potato starch to your grated potato mixture. Add in the egg and the salt and stir well.

Once your batter is ready, coat your frying pan with about 1/4 inch of olive oil, then turn up the heat. Add 1 heaping tablespoon of batter into the oil at a time, and flatten them slightly with your spatula.  Fry latkes until golden on the bottom- about 3 minutes on medium-high heat- then flip and fry until golden on the other side. When they are crispy and golden brown, remove from the pan and drain on paper towels if desired. Continue frying until all the batter is used up, adding in more oil to the pan as needed. Serve with organic applesauce and generous helping of your favorite green salad – and enjoy your delicious gluten free meal!

Wishing you all a Happy and Healthy Chanukah!

Posted on

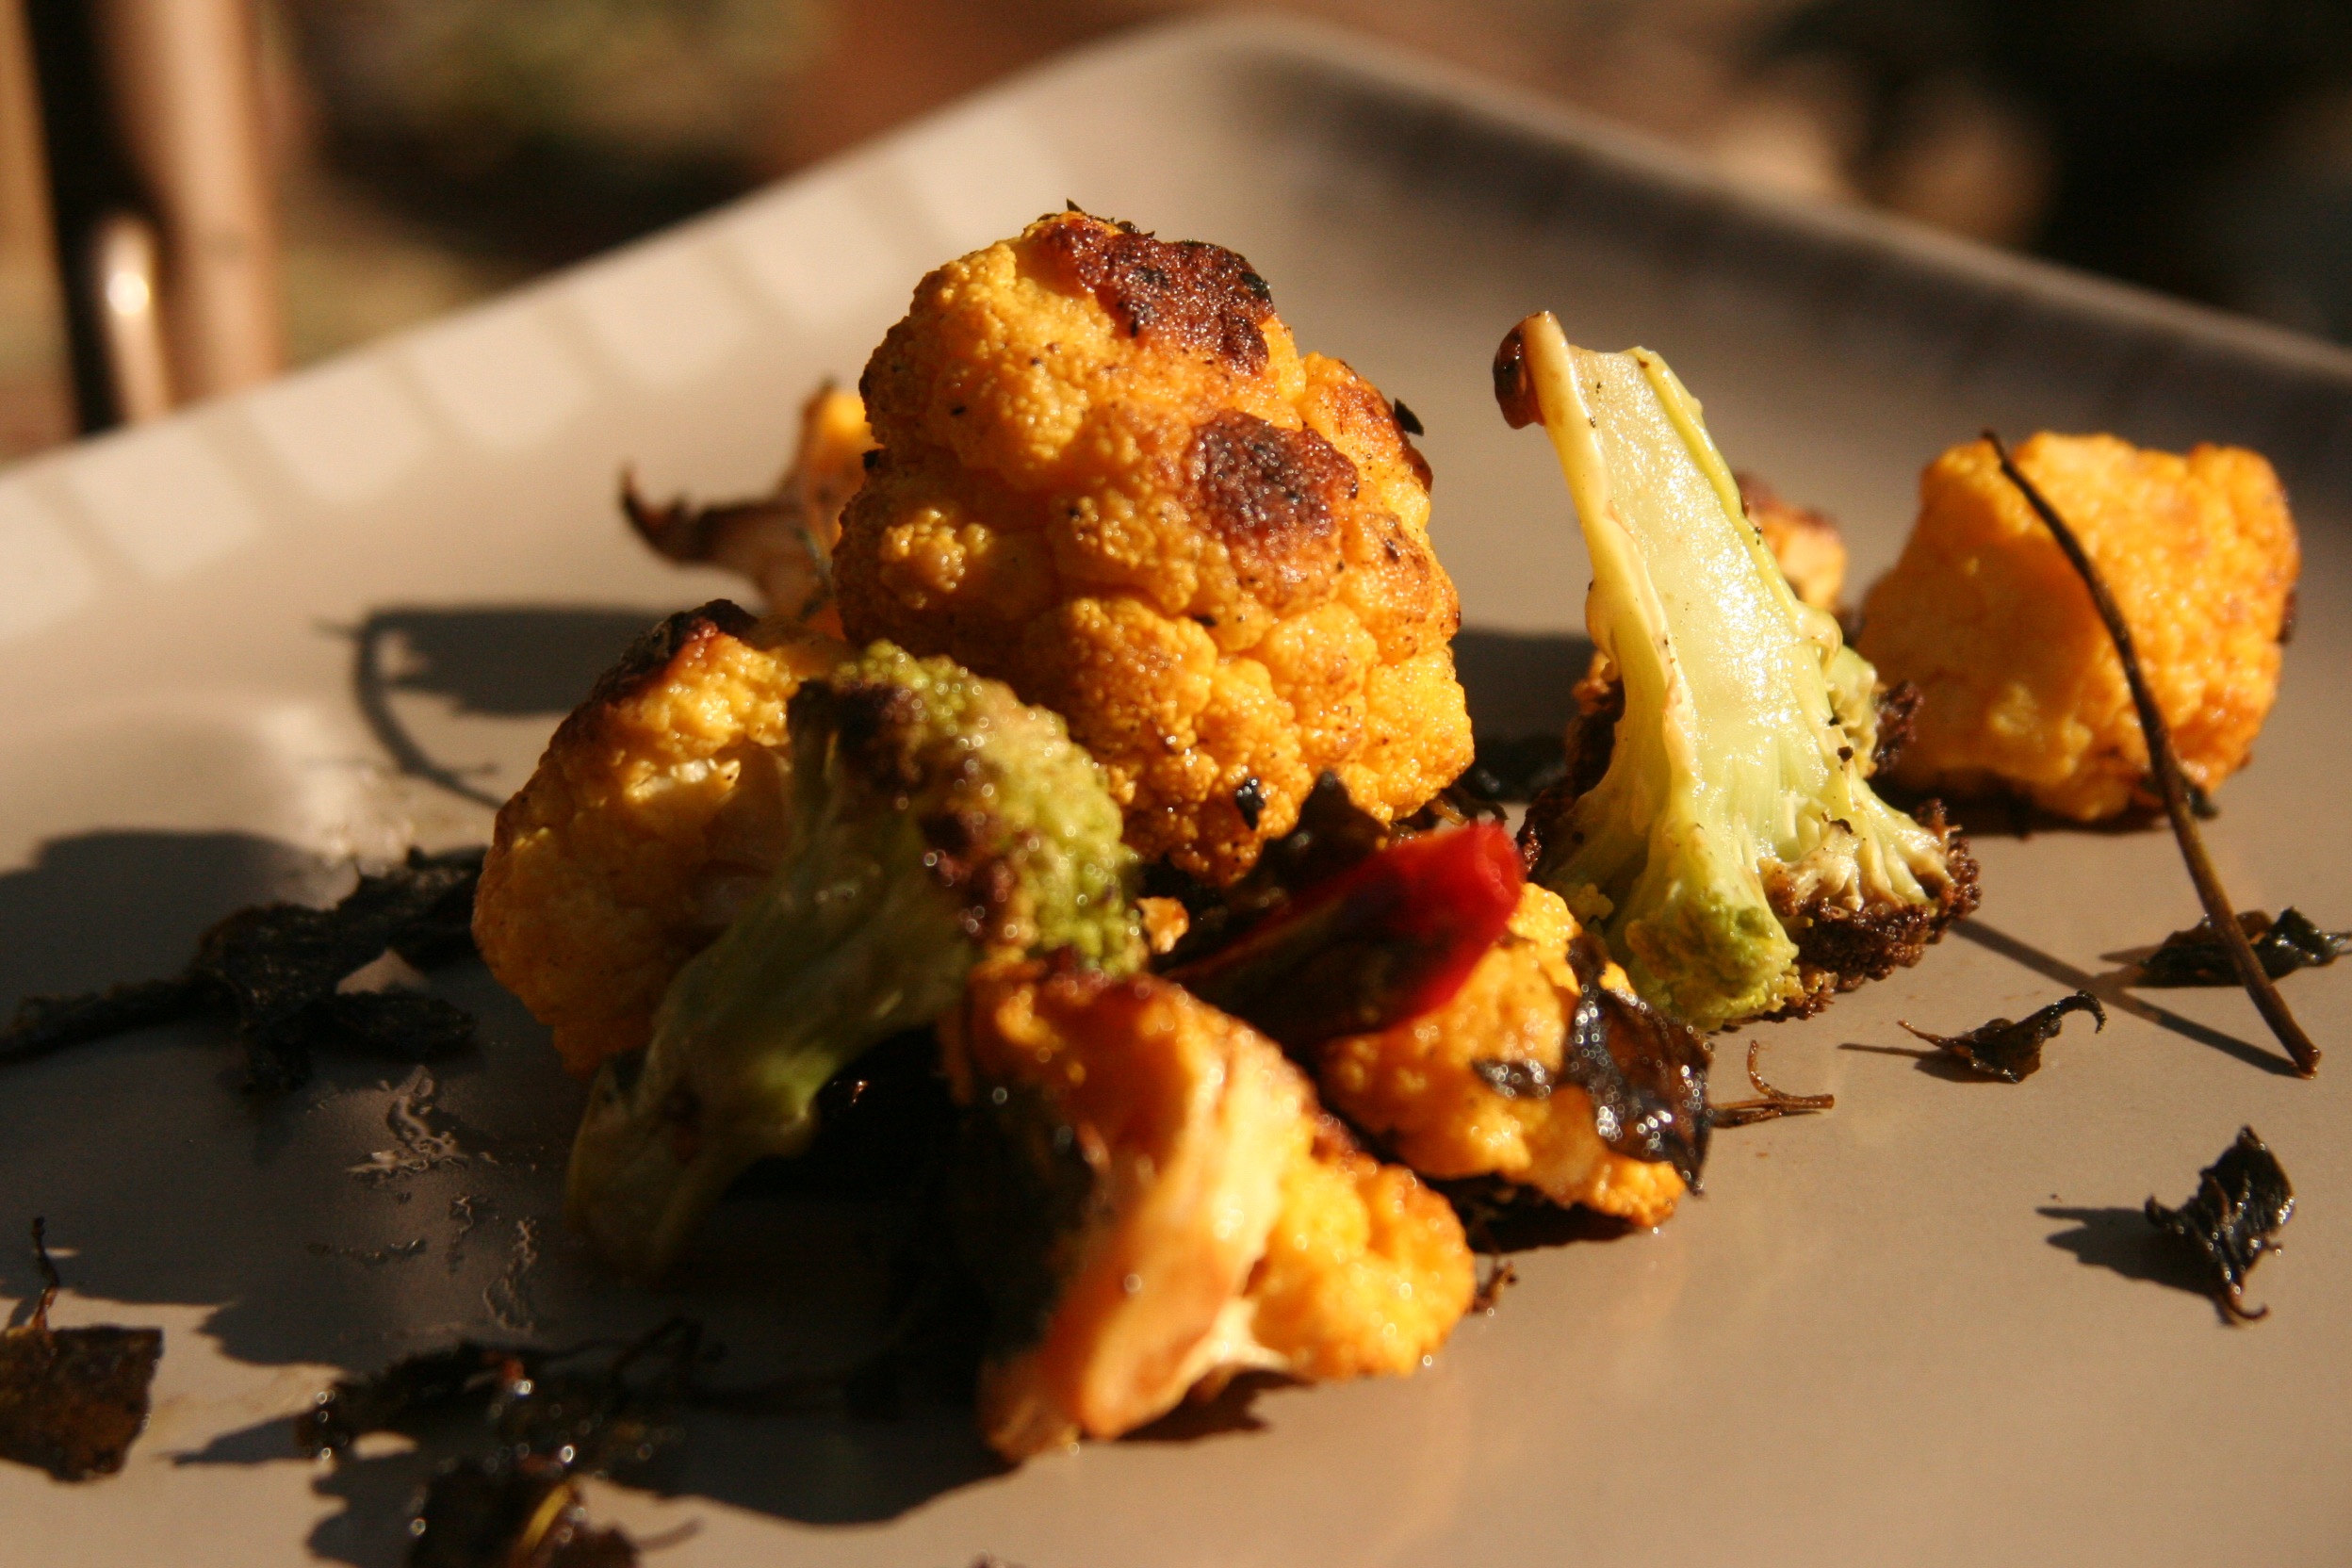
Tri-coloured Cauliflower with Fresh Oregano

Cauliflower is one of the more versatile stars of the vegetable kingdom. It’s delicious raw, marinated or pickled, but when cooked, cauliflower takes on an almost meaty flavour. When baked with cheese, it’s so hearty and satisfying that it’s easy to forget you’re eating a vegetable at all. Aesthetically, it’s a cousin of broccoli, but beyond that, completely different. Roasted until brown and very colourful in this recipe, cauliflower takes on a new enticing dimension. Serve with a rich fatty fish like salmon, or with brisket and lightly steamed leafy greens.

Here is what you’ll need:

  • 3 heads of cauliflower, cut or broken into florets (If you can get a variety, available right now in the New York area, it will look gorgeous, I’ve seen purple, orange, green and romanesco.)
  • 1 small bunch fresh oregano
  • 1 cup chopped parsley (optional)
  • Soft butter or/and oil (¼ cup approximately)
  • Sea salt
  • Freshly ground black pepper
  • 3 red chilli or habanero peppers

Directions: Preheat oven to 400 F or 205 C. Line two large baking trays or cookie sheets with parchment or baking paper. Place florets into a large mixing bowl. Strip the leaves off five oregano sprigs and throw them over the cauliflower. Discard the stems. Throw the rest of the oregano sprigs over the cauliflower as well. Put two sprigs aside for presentation. Pour the oil into the bowl or add the butter (or both). Sprinkle the salt, about two tablespoons, but err on the side of less because you can always add more later. Grind a bunch of black pepper, maybe six grinds total. Throw in the peppers whole. Toss the veggies and the herbs well. Spread in a single layer over both baking sheets and roast until “al dente”, soft, but with a bite, about 20 minutes.

Chef’s tip: If you need more space either roast in shifts or get another tray. If you pile up the cauliflower, it will steam instead of roasting.

Photograph by Itta Werdiger Roth

Posted on Leave a comment

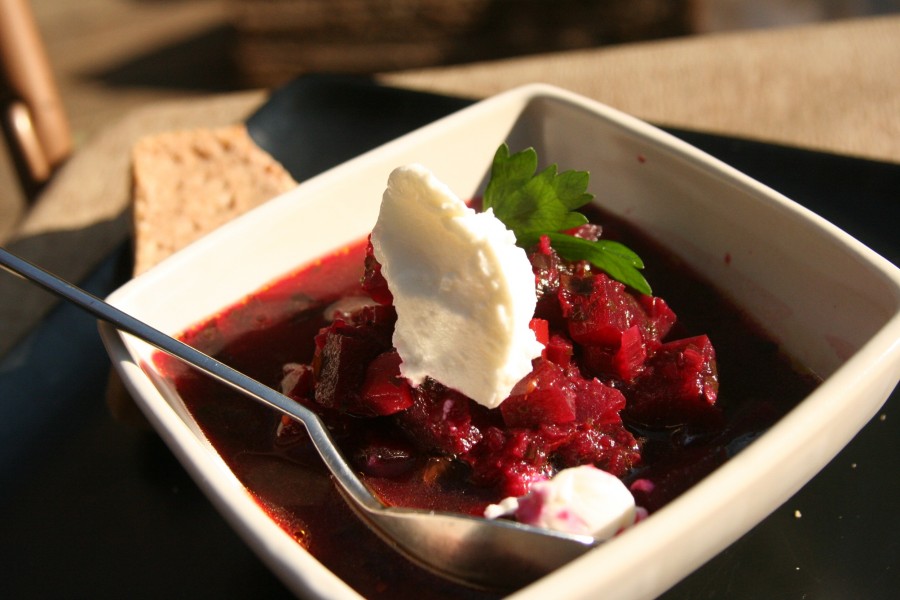
Autumn Borscht

There are more versions of borscht than I can list or even know about, most of the recipes originating from various Eastern European countries. Hot or cold, as a drink or as a soup over hot potatoes, or as a warm meaty stew, borscht is one of the most argued-over dishes. People are often consumed with the question of “what is the REAL original recipe?”, so here’s what I think: I’m a cook, not an archaeologist, and I couldn’t care less whether Russians would use caraway seeds in borscht! This recipe is delicious and very autumnal; enjoy!

Here’s what you’ll need:

  • 3 Tablespoons of grape-seed oil (or/and butter)
  • 2 onions, peeled and diced
  • 1/2 head of garlic, thinly sliced/minced
  • Generous pinch of caraway seeds
  • 4 medium carrots, chopped
  • 2-3 yukon potatoes, chopped
  • 2 parsnips, peeled and chopped
  • 1 bunch red beets, peeled and chopped
  • 4 cups water (approximately)
  • 2 teaspoons kosher salt
  • 1/2 of a squeezed lemon (juice)
  • 1 tablespoon brown sugar
  • 1/4 cup apple cider vinegar
  • 1 cup chopped parsley and/or dill & beet greens
  • Freshly ground black pepper
  • Sour cream or plain yogurt to serve

Directions: heat the oil in a large stock pot. Add the onions, and saute until translucent. Add the garlic and caraway seeds and stir until fragrant, about 2 minutes. Add the carrots, potatoes and beets. Cook over medium heat for about 5 minutes, until the vegetables have started to soften. Add the water, salt, sugar, vinegar and bring to a boil. Reduce heat, and simmer for 30 to 45 minutes until all the vegetables are tender. Stir in the greens and lemon juice, simmer for a minute, and then add black pepper to taste.
Serve warm with fresh dill and sour cream.

Chef’s tips: Please feel comfortable to measure very approximately. This is a rustic village-style dish and exactness is not necessary. You can make it more soupy or more stew-like depending on how much water you add. This recipe can easily be adapted to be made with beef (Jews: without the sour cream of course!). You can brown small pieces of beef stew on the side and throw them in at the same time as you add the beets.

Serves 4 as main course, 6 as an appetizer

Photograph by Itta Werdiger Roth

Posted on

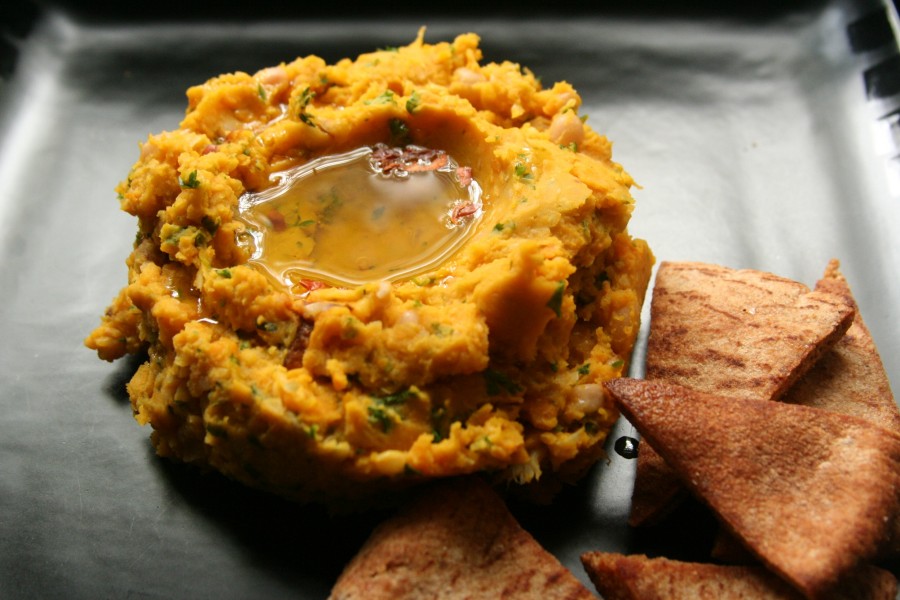
Pumpkin White Bean Dip

I always love to create new dips with seasonal ingredients. Once you learn the base behind making pestos, bean dips and salsas, you are really set to turn almost anything into a dip. This white bean dip uses almost the exact same logic behind making a traditional chickpea hummus. I start with a cooked bean, something to make it smooth (oil), something acidic to cut the fat (lemon juice) something to give it an edge (garlic), something to make it creamy (pumpkin; in hummus/tahini would be used) and lots of fresh herbs and spices. I used a food processor for this recipe many times and it does make for a very smooth and delicious dip, but lately I have much preferred this more rustic version. Some of the beans get mashed, some stay whole and I really enjoy being able to identify all the different ingredients that make this dip so intensely flavourful.

This is what you will need to make this delicious dip:

  • 3 cups navy beans (or other white beans) pre-soaked and cooked with salt until very soft.
  • 2 cups cooked, Japanese pumpkin aka kabocha squash (or other winter squash.)
  • 1 head garlic, wrapped up in foil and roasted until soft.
  • Juice of 1 lemon
  • ¼ cup extra virgin olive oil
  • Salt to taste
  • A few grinds of fresh ground black pepper
  • ¼ tsp red pepper flakes

All or some of the herbs listed below:

  • ½ cup chopped parsley
  • ¼ sliced scallions
  • 4-6 sprigs of thyme, leaves pulled off stems.
  • 1 fresh sage leaf or 1 sprig of fresh oregano finely chopped.

Directions: place the soft beans, peeled garlic and cooked squash into a large mixing bowl. Mash with a potato masher or fork. Focus on the cloves of garlic, as the rest will figure itself out. Add the rest of the ingredients and mix. Serve on a plate, make a little well in the center of the dip with the back of a spoon and put some more olive oil and red pepper flakes.

Chef’s tip: I usually cut the squash in half and bake it flat on a tray until soft, about 30-40 minutes on 350F/180C. When it cools enough, I either peel it or spoon out the flesh. I also throw the garlic wrapped up on the same tray with the pumpkin and take it out when soft, for about 25 minutes. Peeling the roasted garlic can be messy. I usually put gloves on, slice off the top of one end and squeeze the base. Most of the cloves will ooze out, but some will need serious intervention.

You can serve this with pita chips, celery sticks, radish wedges, or on the Shabbos table with Challah. Enjoy!

Photograph by Itta Roth